Setting Up Your Workspace
This guide walks through Amua workspace setup to get you and your team operational in under 5 minutes.
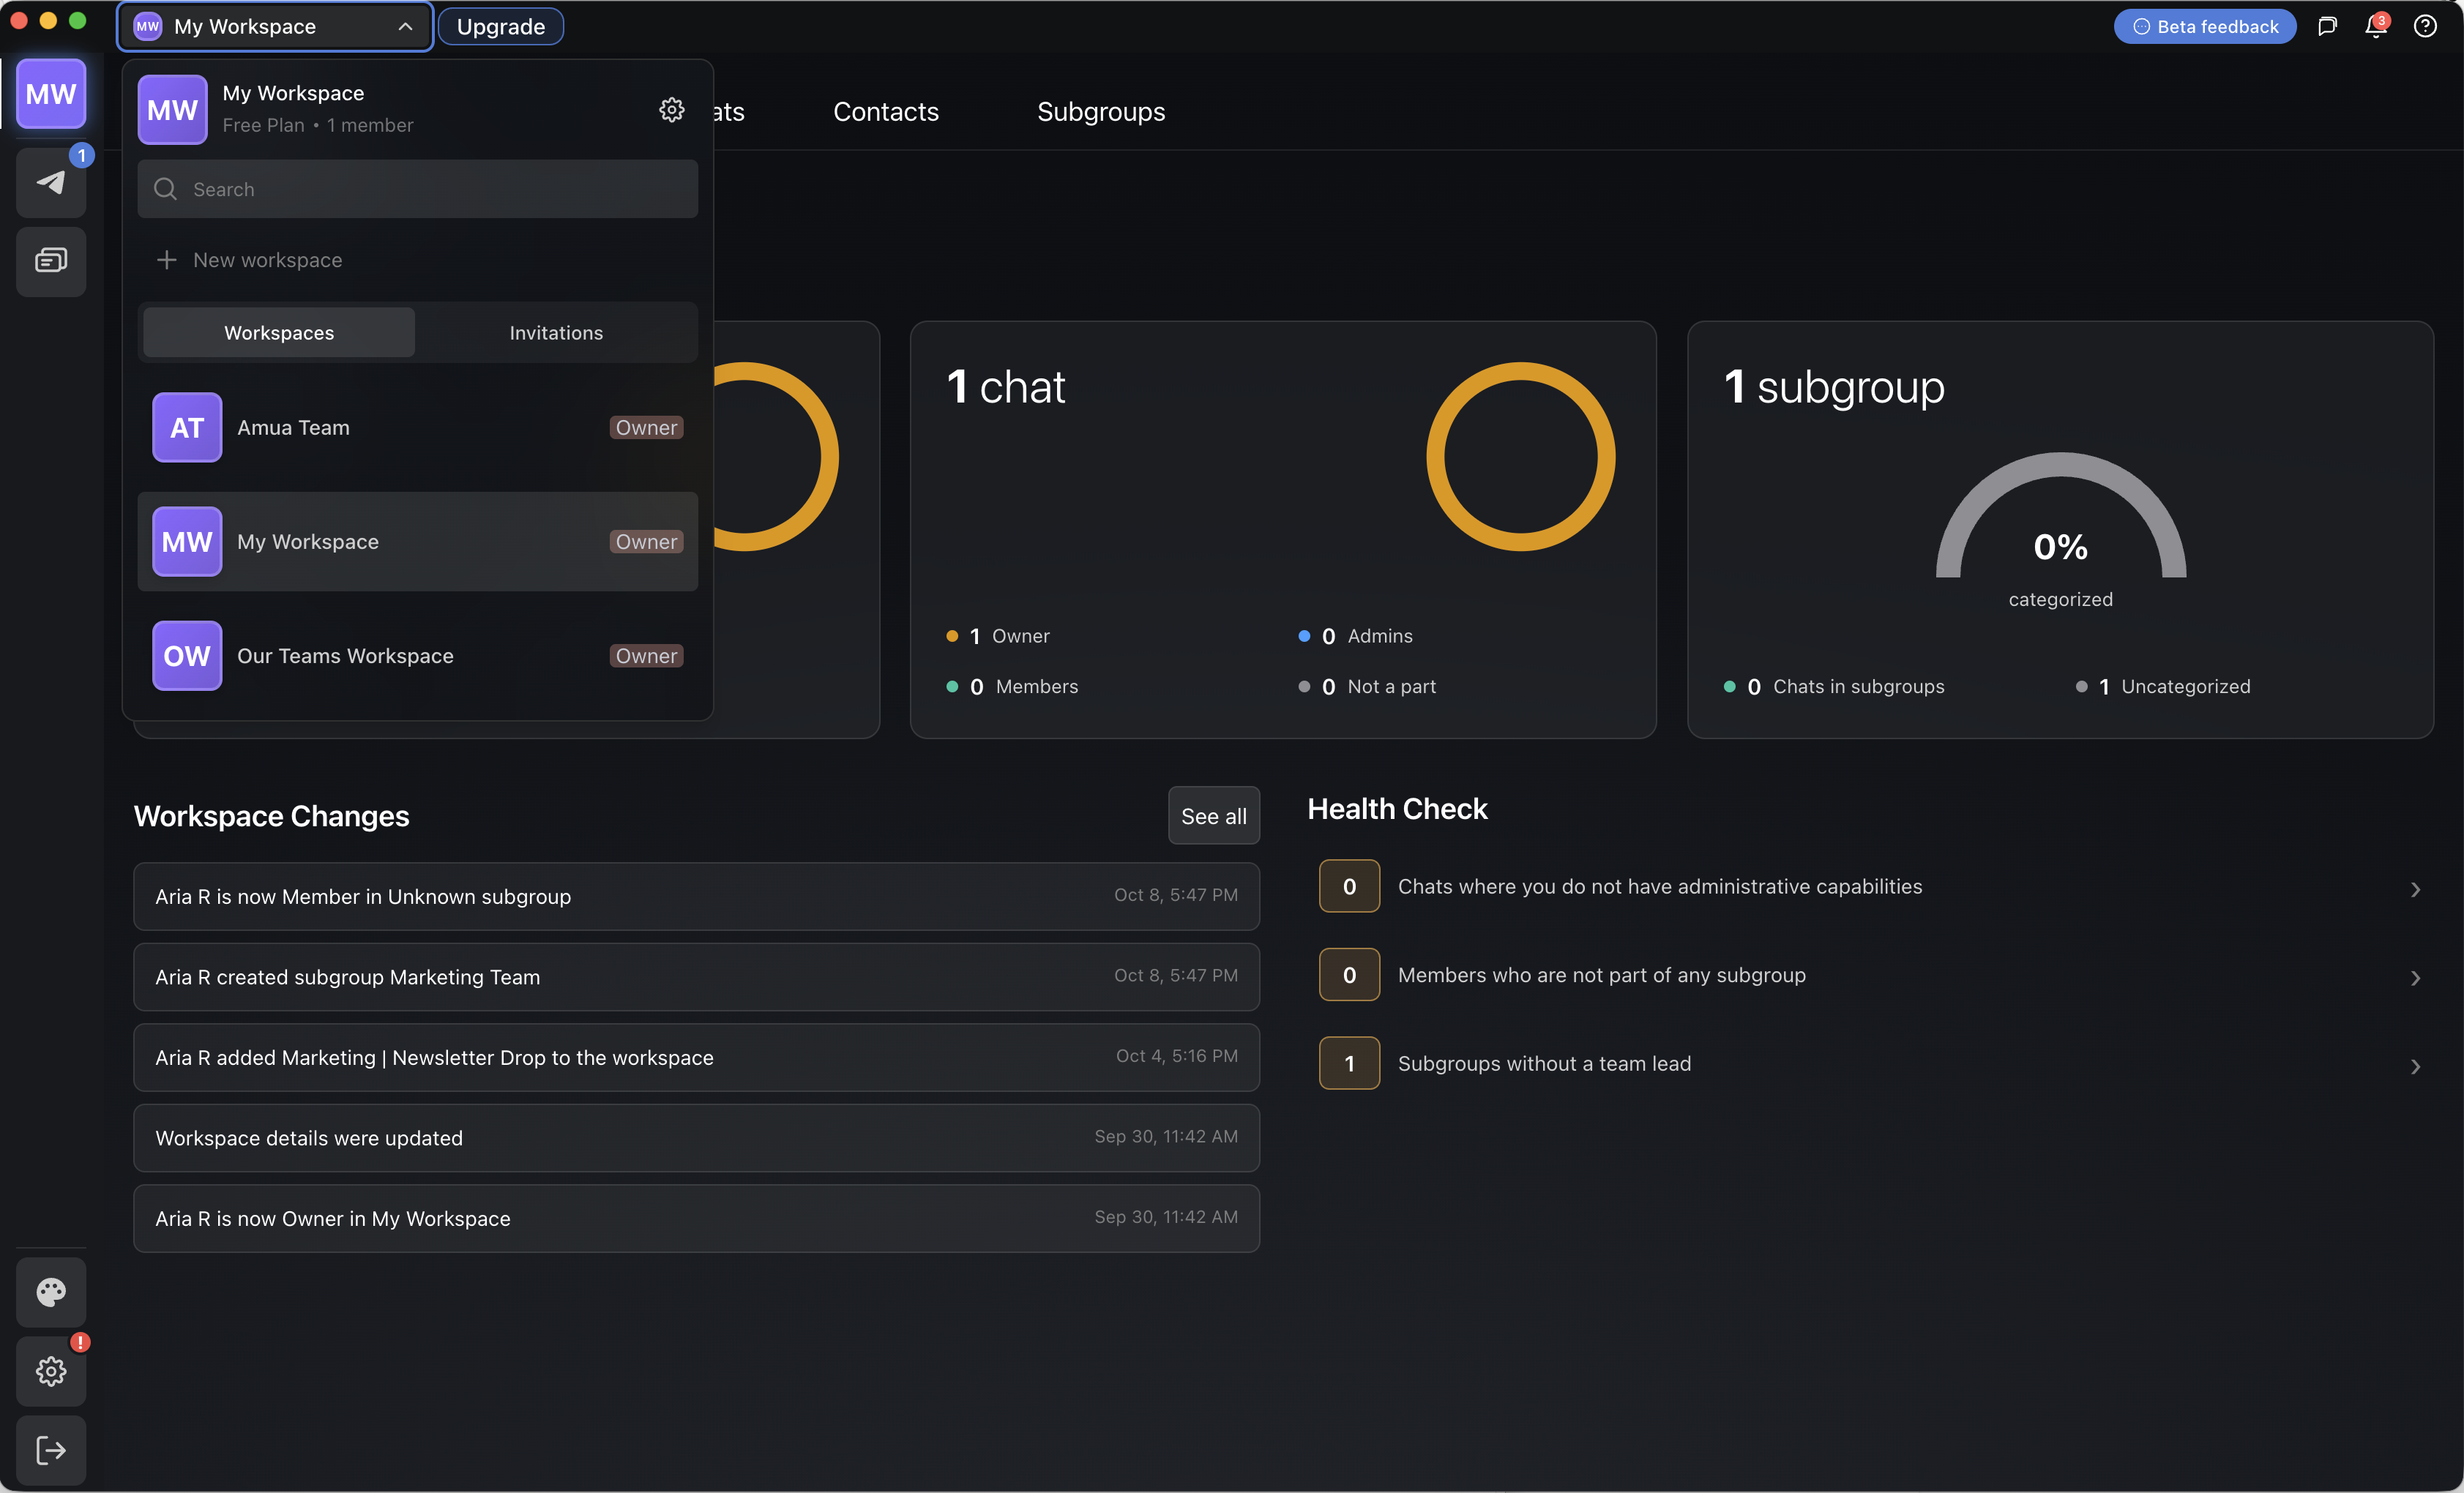
If you are simply looking to join an existing workspace, just create your Amua account. When you log in, your workspace invitations can be found in the "Invitations" tab of the dropdown menu at the top left.
If you are setting up Amua for a team, complete the steps below.
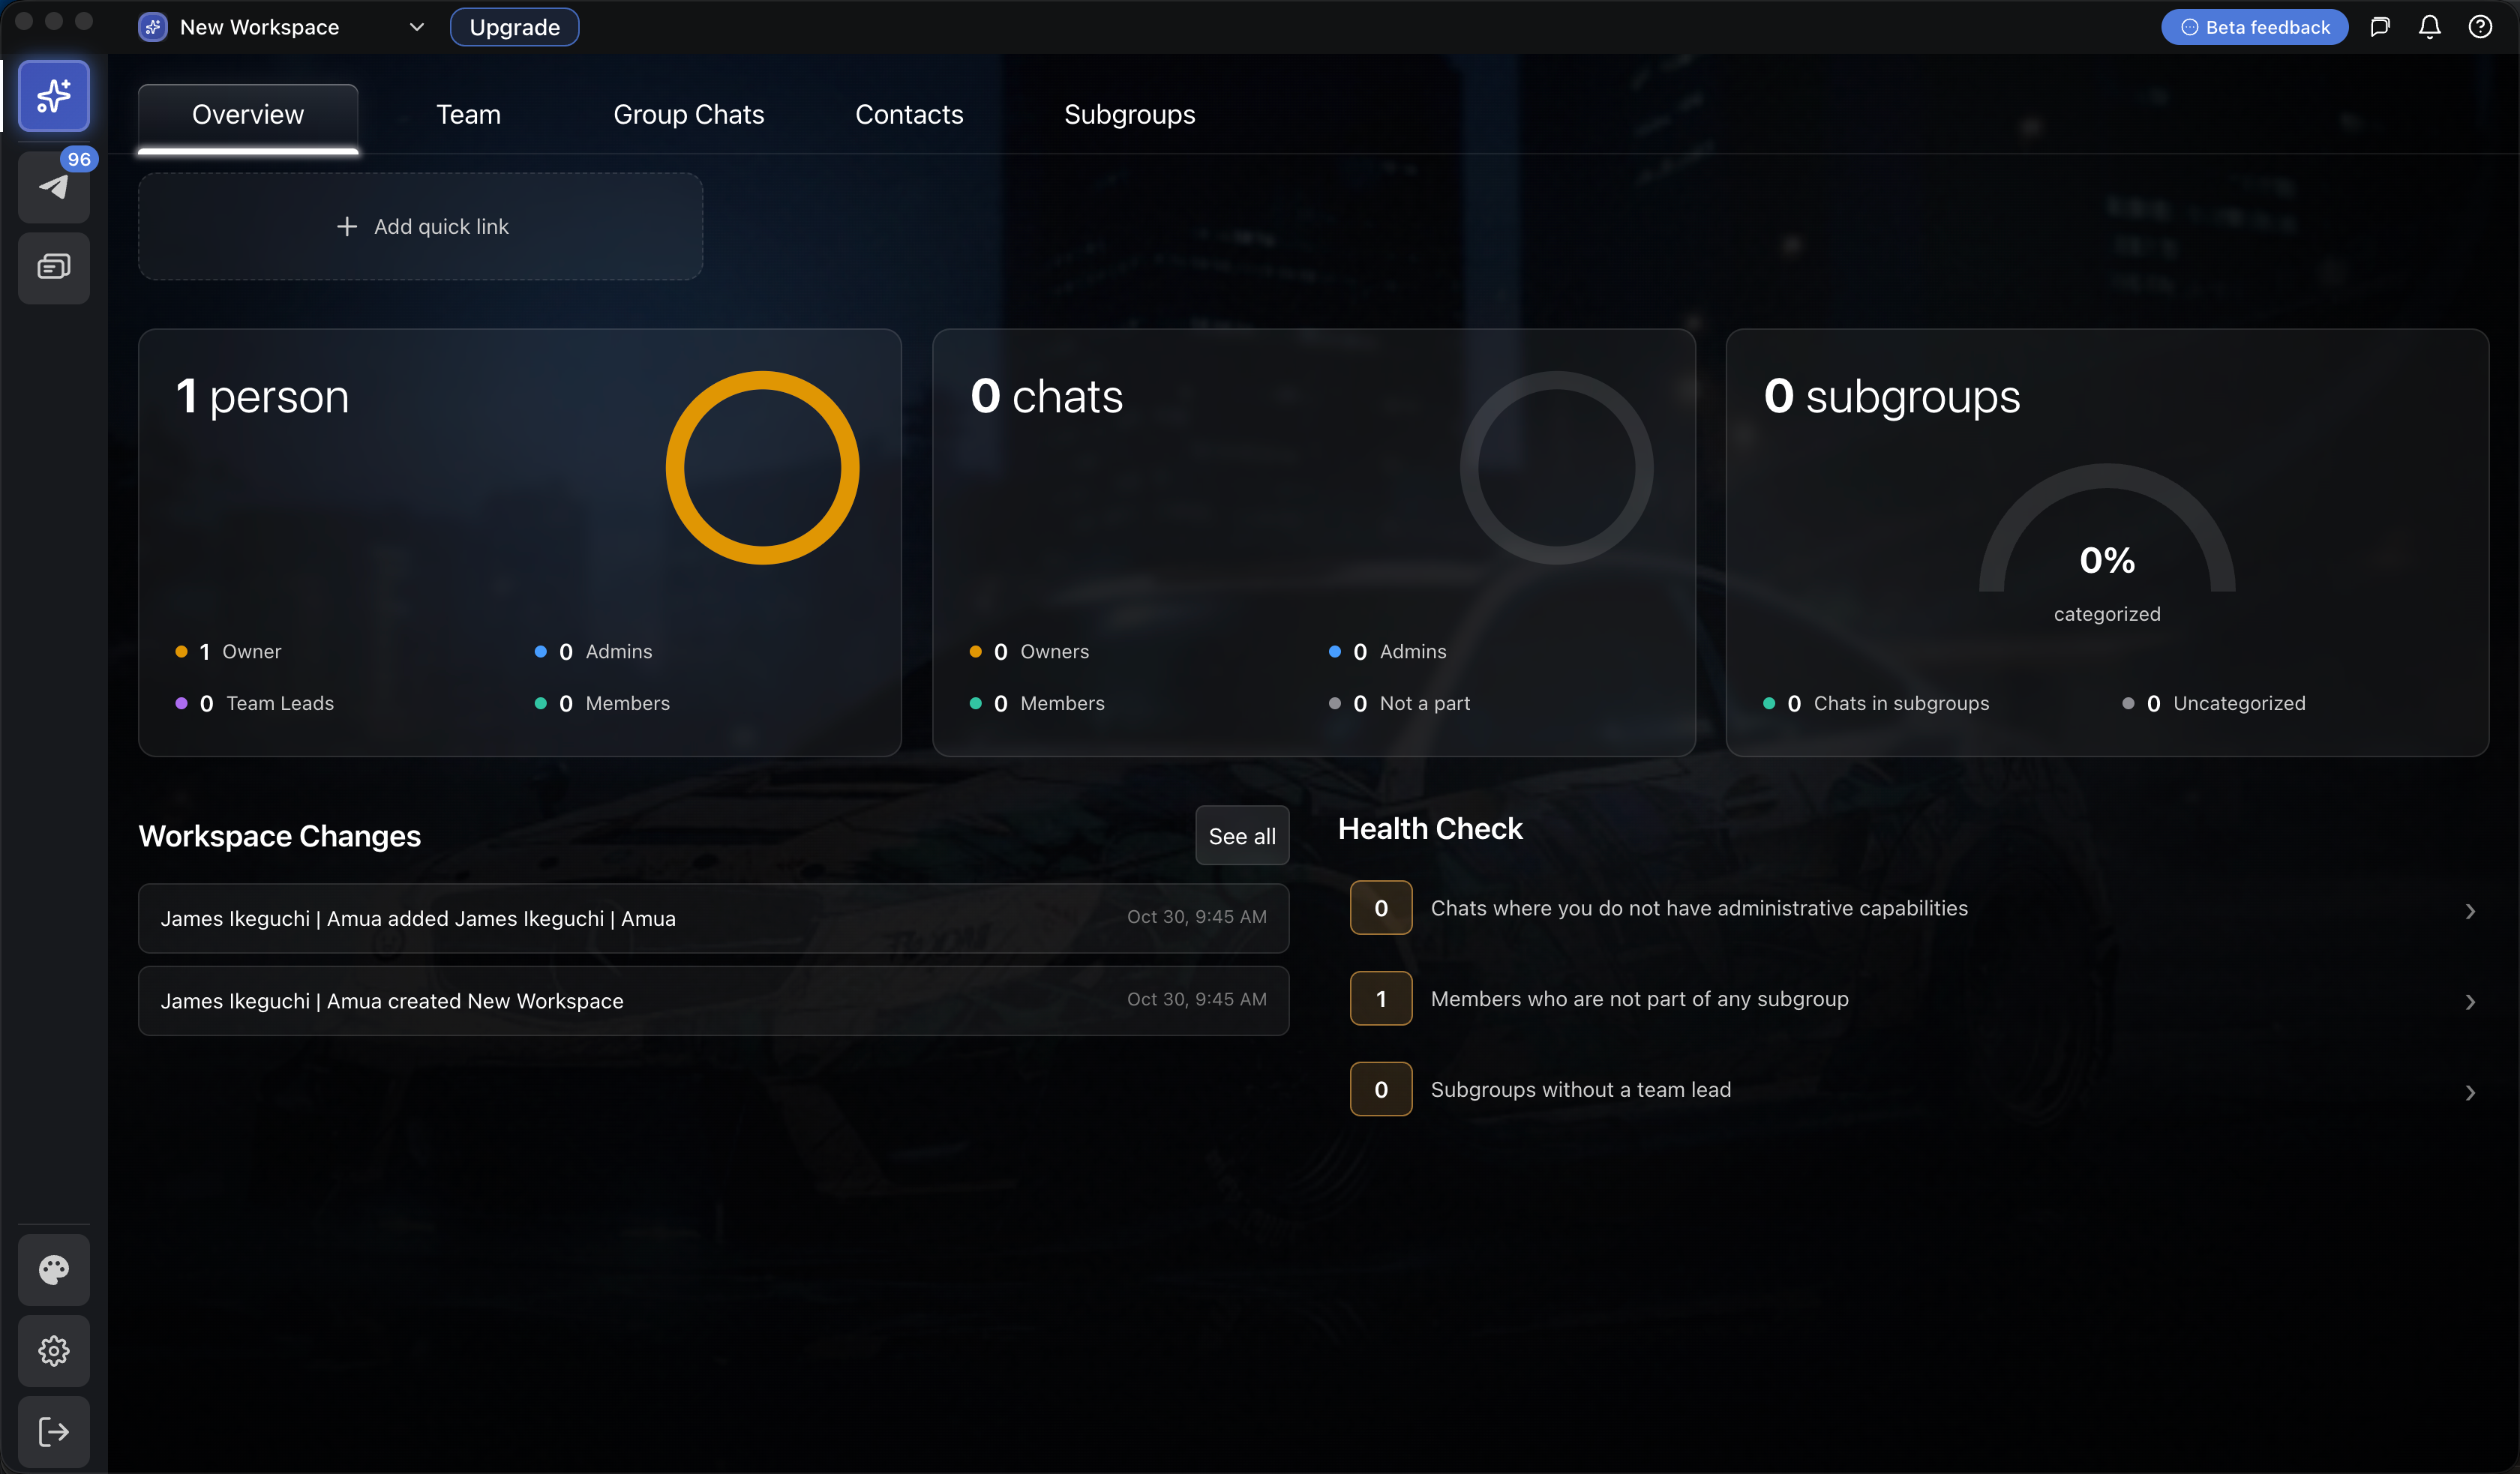
Step 1: Create your first workspace#
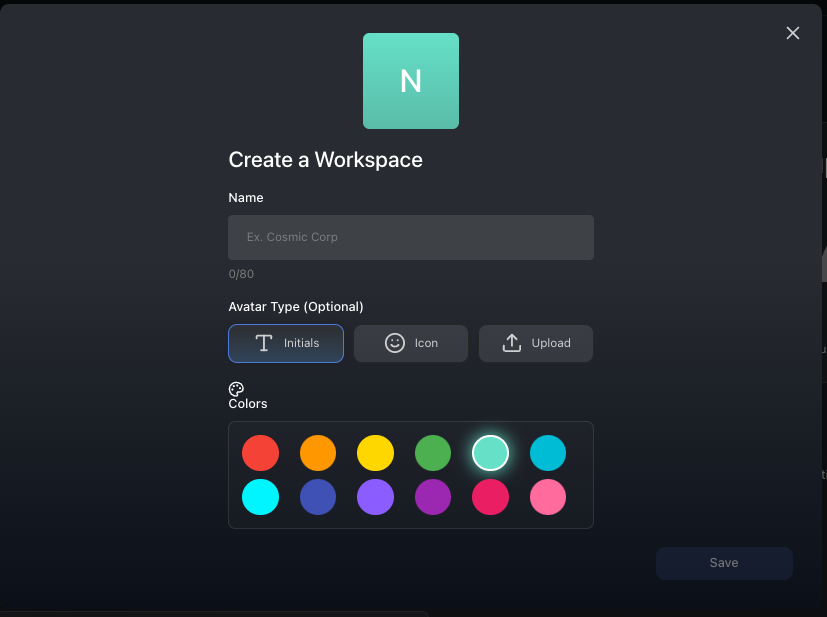
When you first create an account, Amua starts you with a default workspace. You can keep that for personal use, or you can edit it following this guide to build out your team. Up to you.
If you ever want to create a new, separate workspace, navigate to the workspace dropdown menu in the top left of the app and click the "+ New workspace" button. Name it after your company or project and customize it to your liking.
Once you click "Save," you will see your new workspace listed in the dropdown menu.
You can create multiple workspace under the same account.
Step 2: Add your team and assign roles#
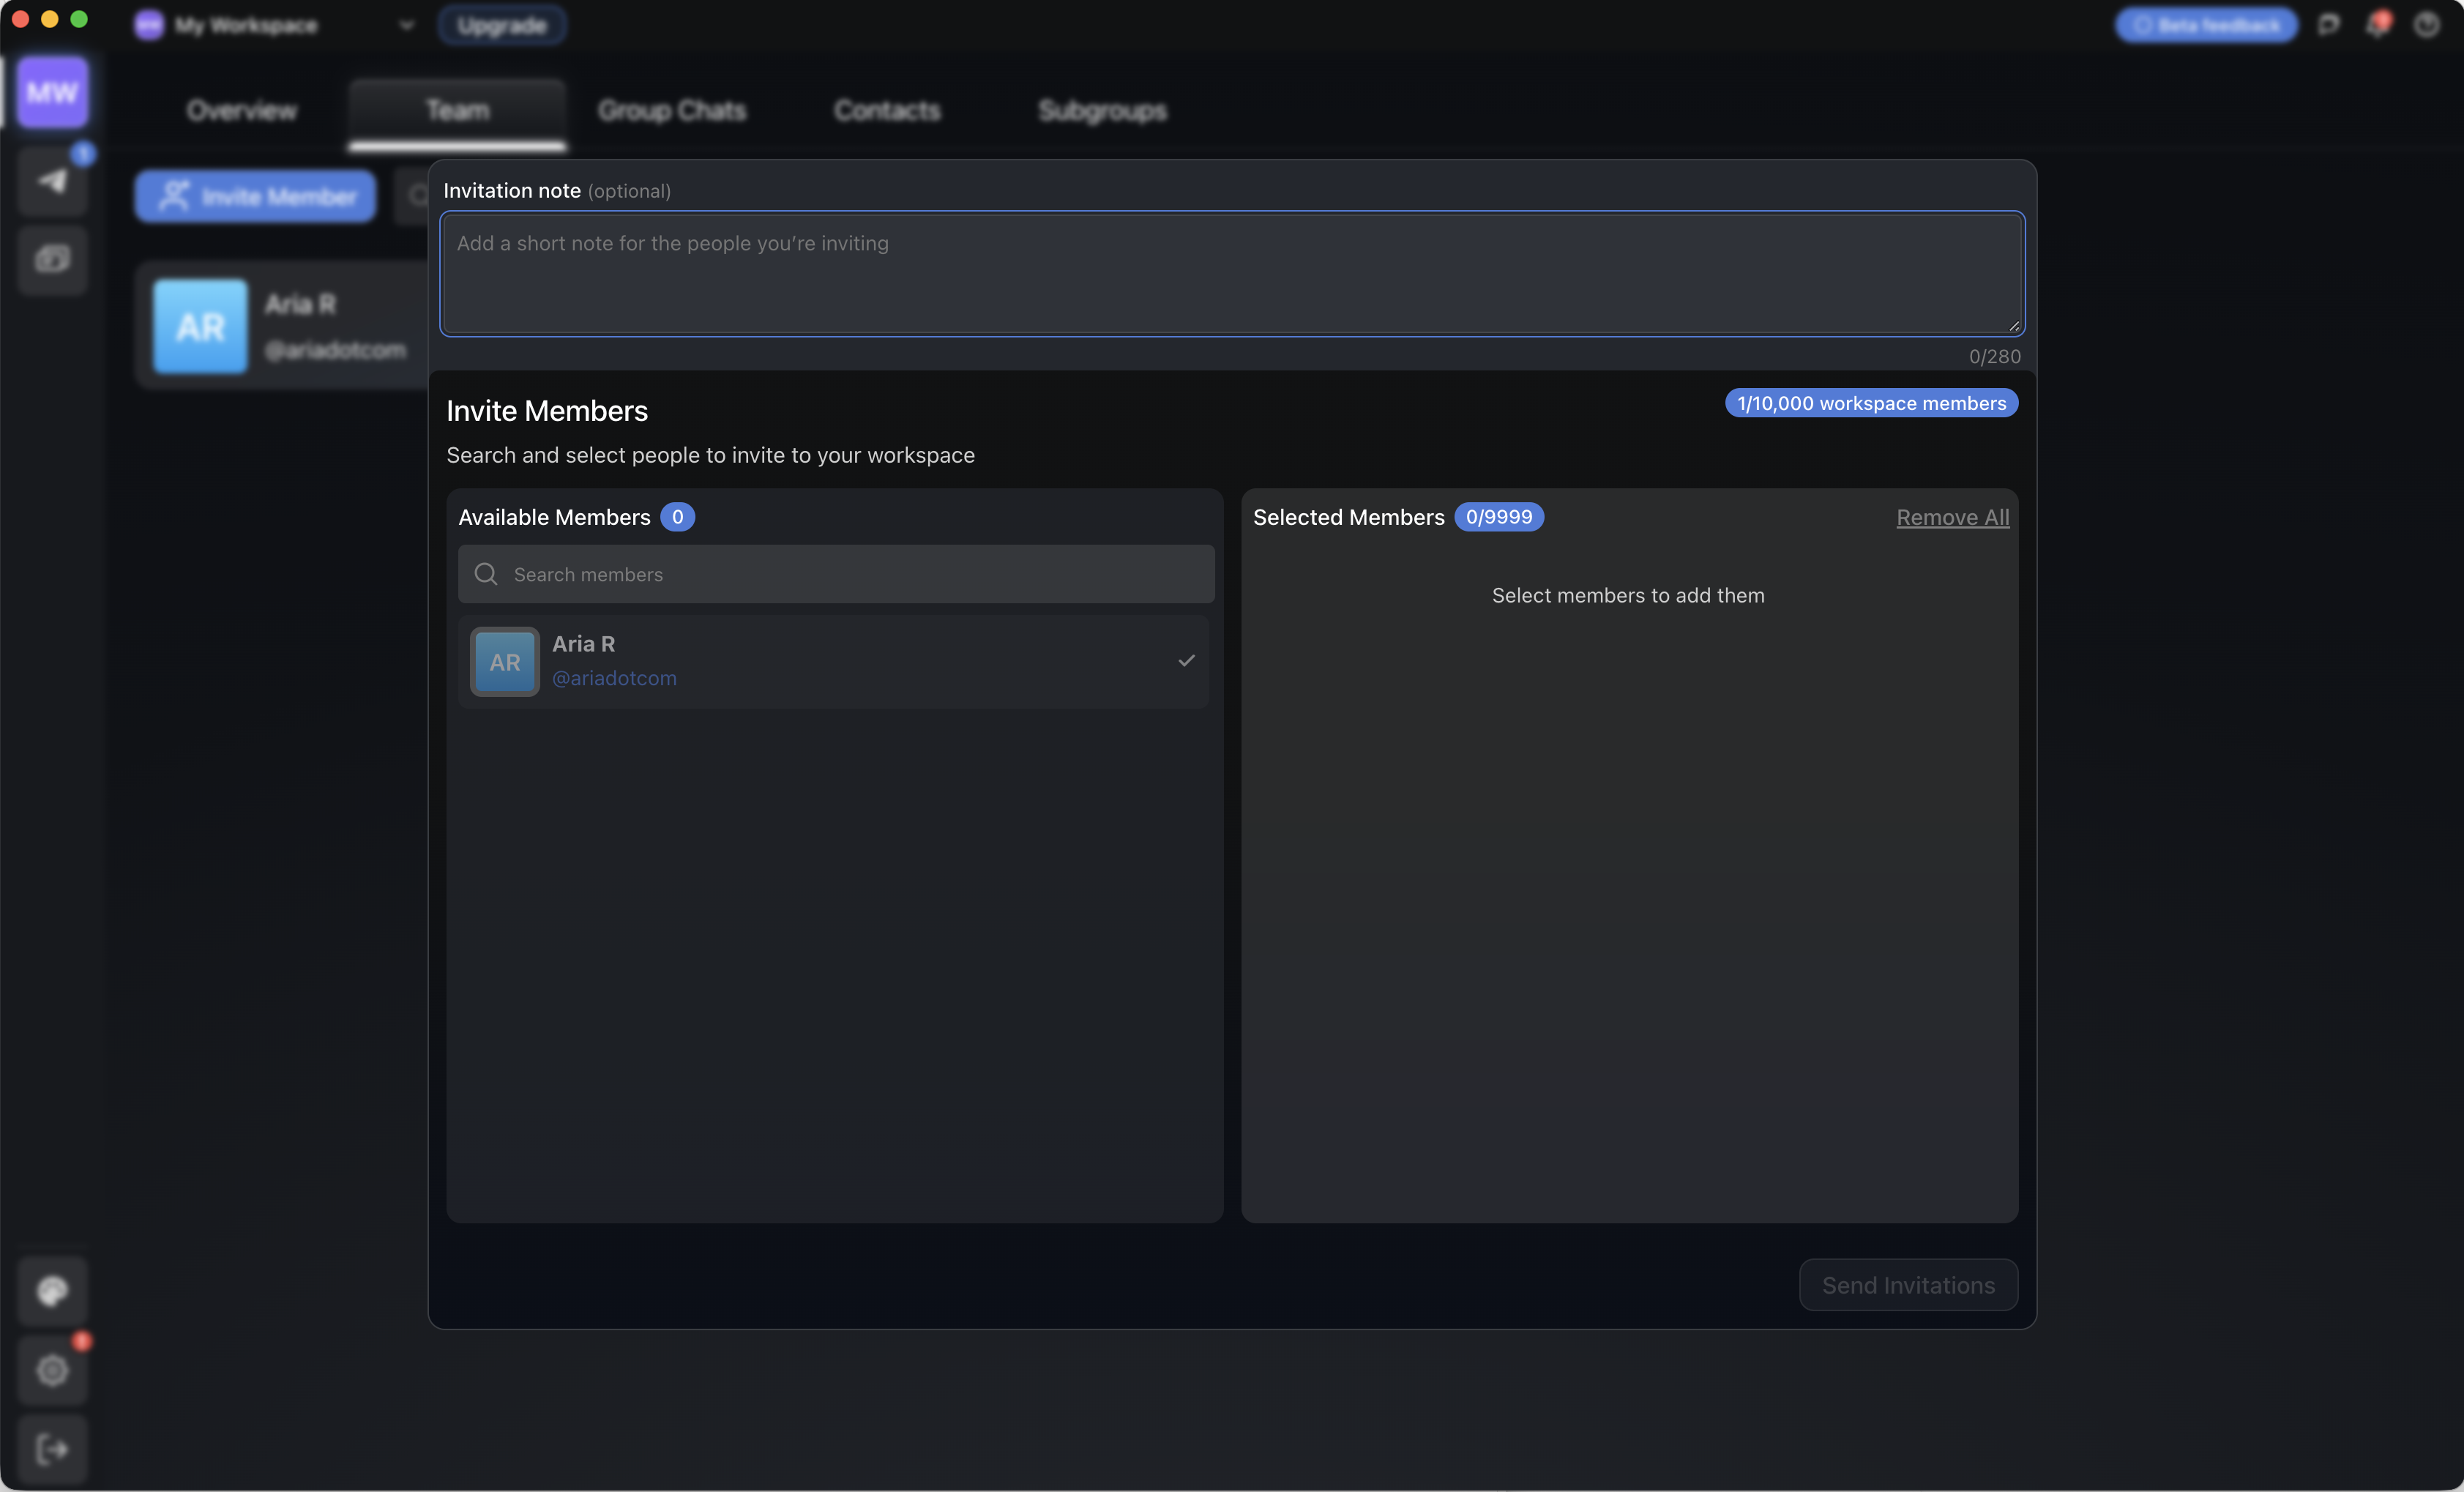
In the Team tab, click the "Invite Member" button. Search your teammates on the left side of the menu, click to add them to the right side, and click "Send Invitations" when finished.
This will send them invites to join the workspace, which can be found in the "Invitations" tab of the workspace dropdown menu. You can still move on to the next steps even if they haven't accepted the invite yet.
Once they've been added, assign roles based on the permissions users should have by clicking the overflow menu (3 dots) on any member card:
- Owner - Full control. Can delete or transfer ownership of the workspace
- Admin - Full control, except deleting the workspace or modifying the owner
- Team Lead - Delegated permissions scoped to specific subgroup(s)
- Member (default) - Can add/remove certain chats but cannot manage people or roles
See the Permissions section for full breakdowns of what each role can do throughout the workspace.
Step 3: Import your Telegram chats#
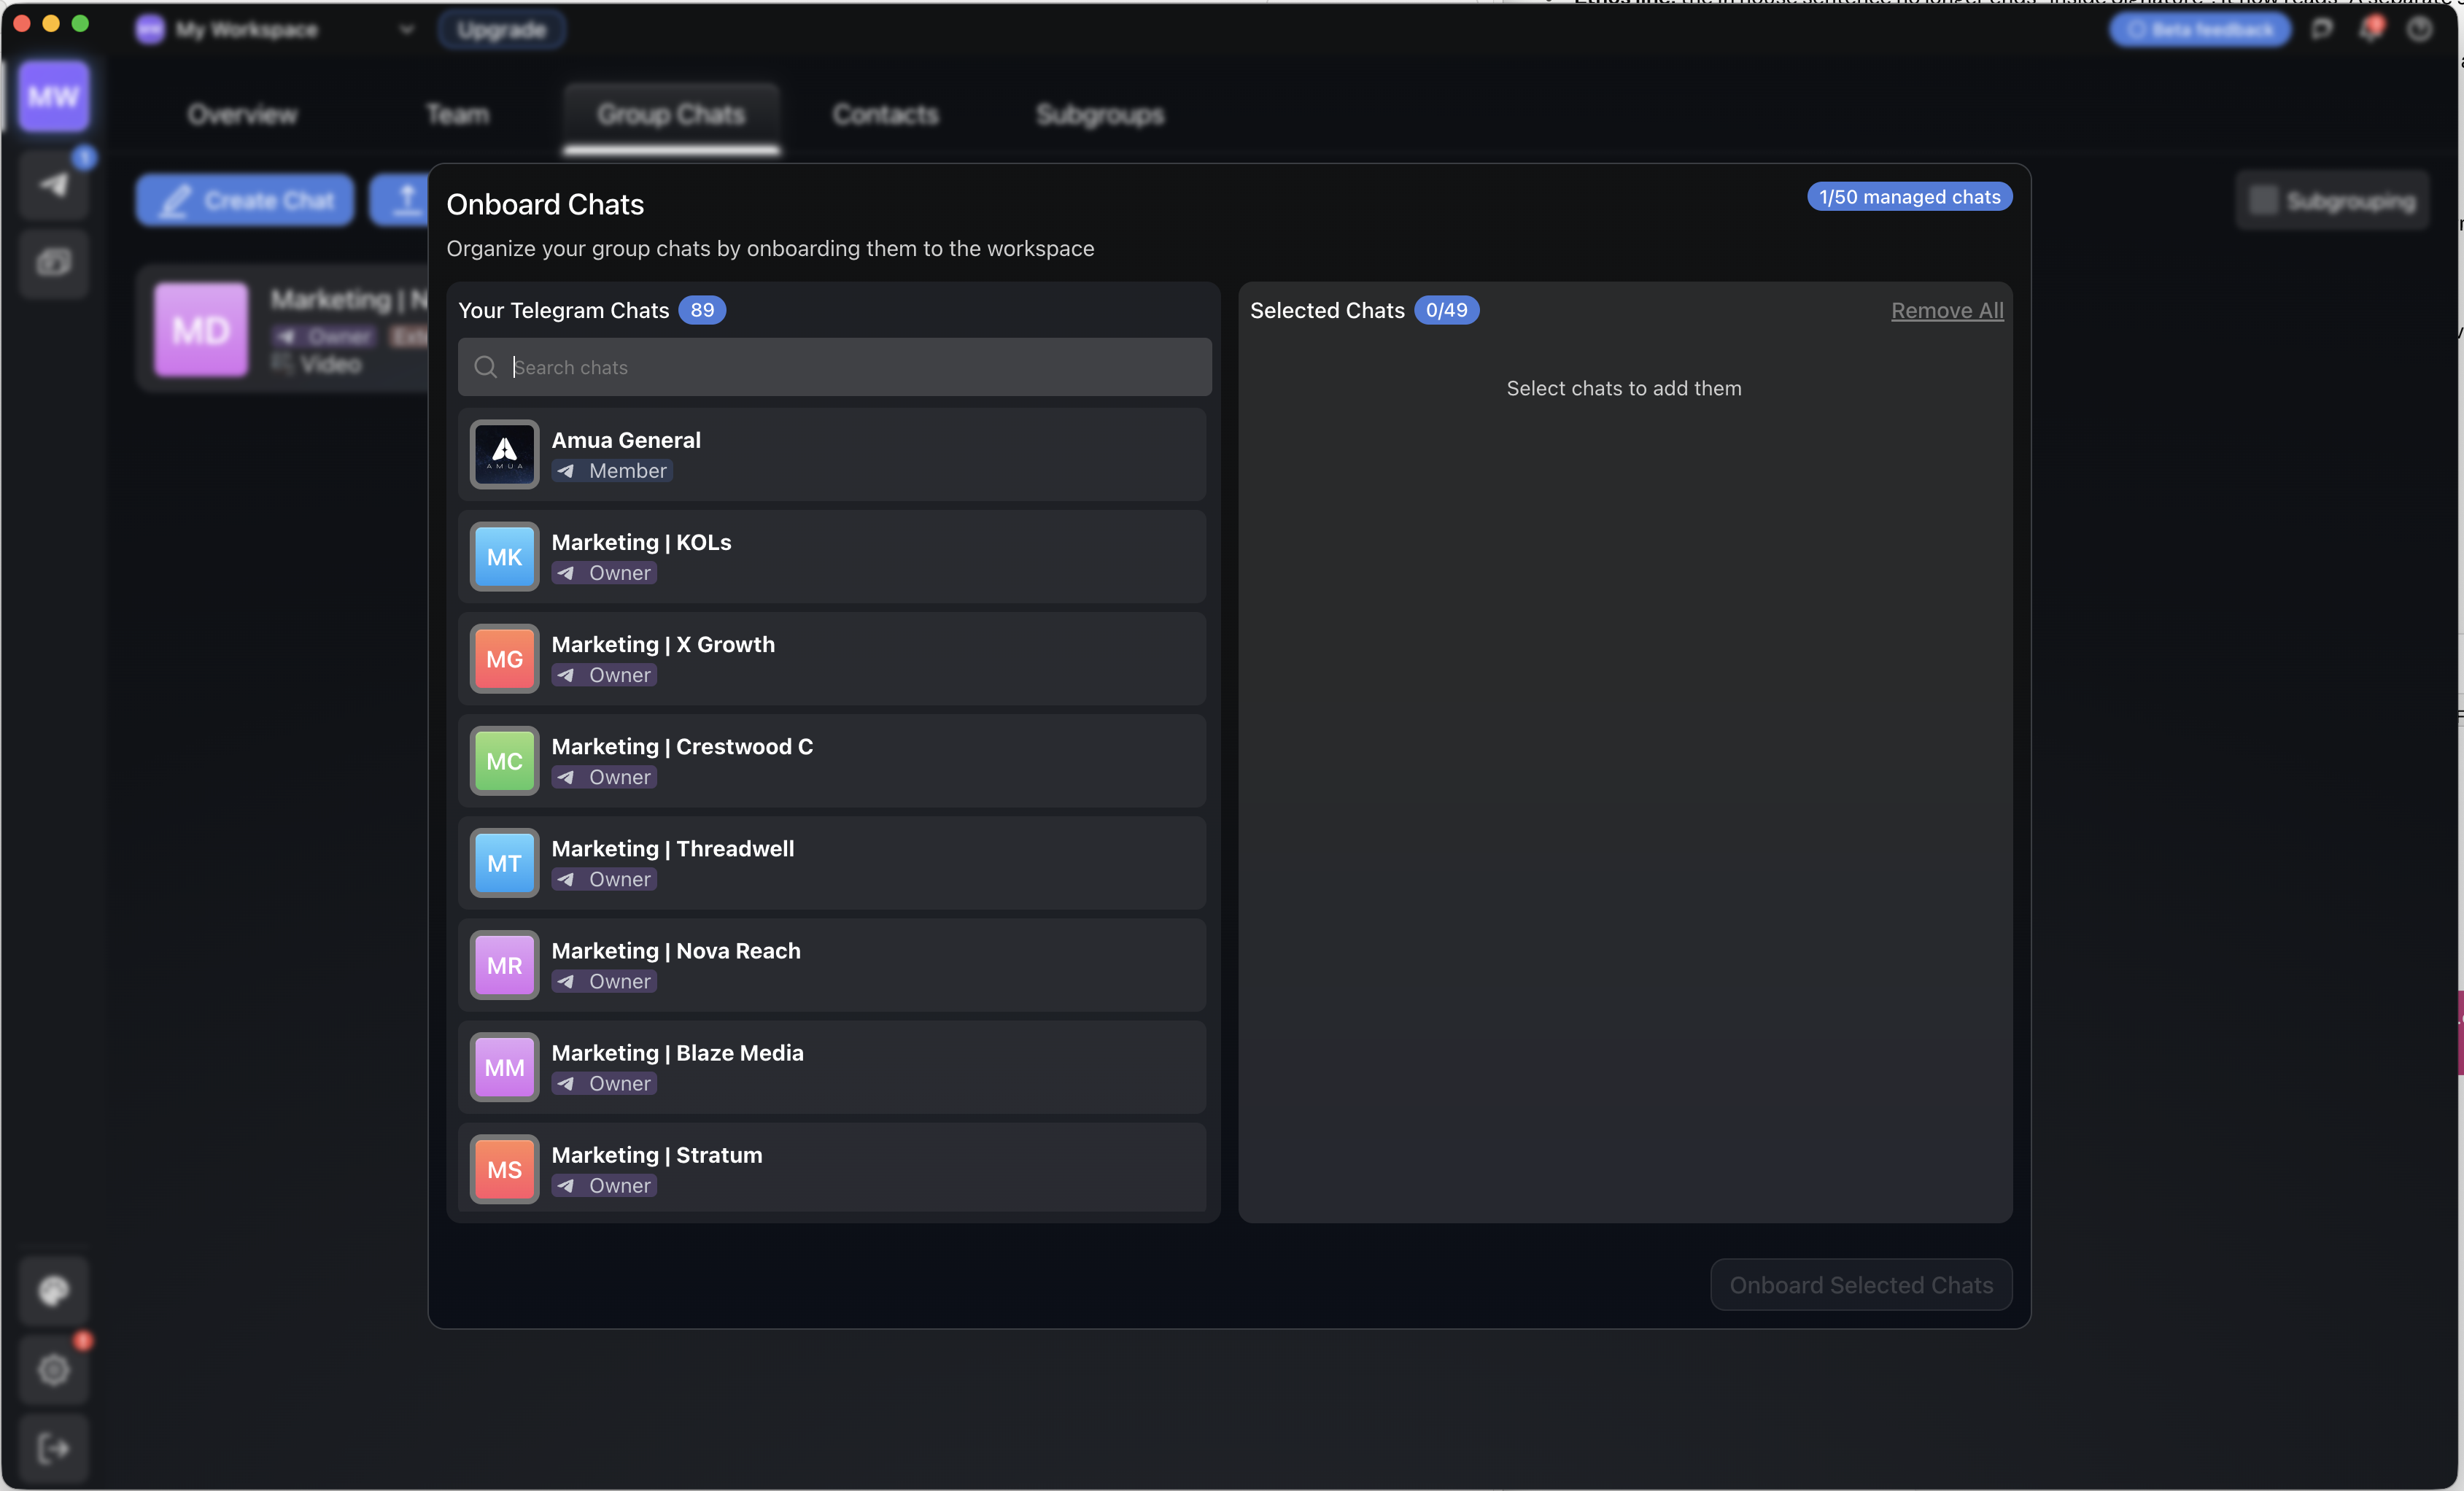
The two types of chats you'll use most are: group chats (many-to-many) and direct messages (one-to-one). Amua keeps the management of the two separate, as they function differently with distinct characteristics and data patterns, but combines the two chronologically in the chat feed.
- In the Group Chats tab, click Import Chats to import any existing group chats that are relevant to the workspace
- In the Contacts tab, click Import Contacts to import any existing DMs with people external to your team/workspace that you'd like to track
These are the chats Amua will help you manage. You can add or remove chats at any time.
Any new group chat you create in the Group Chats tab will be automatically added to the workspace.
Step 4: Additional structure through subgroups#
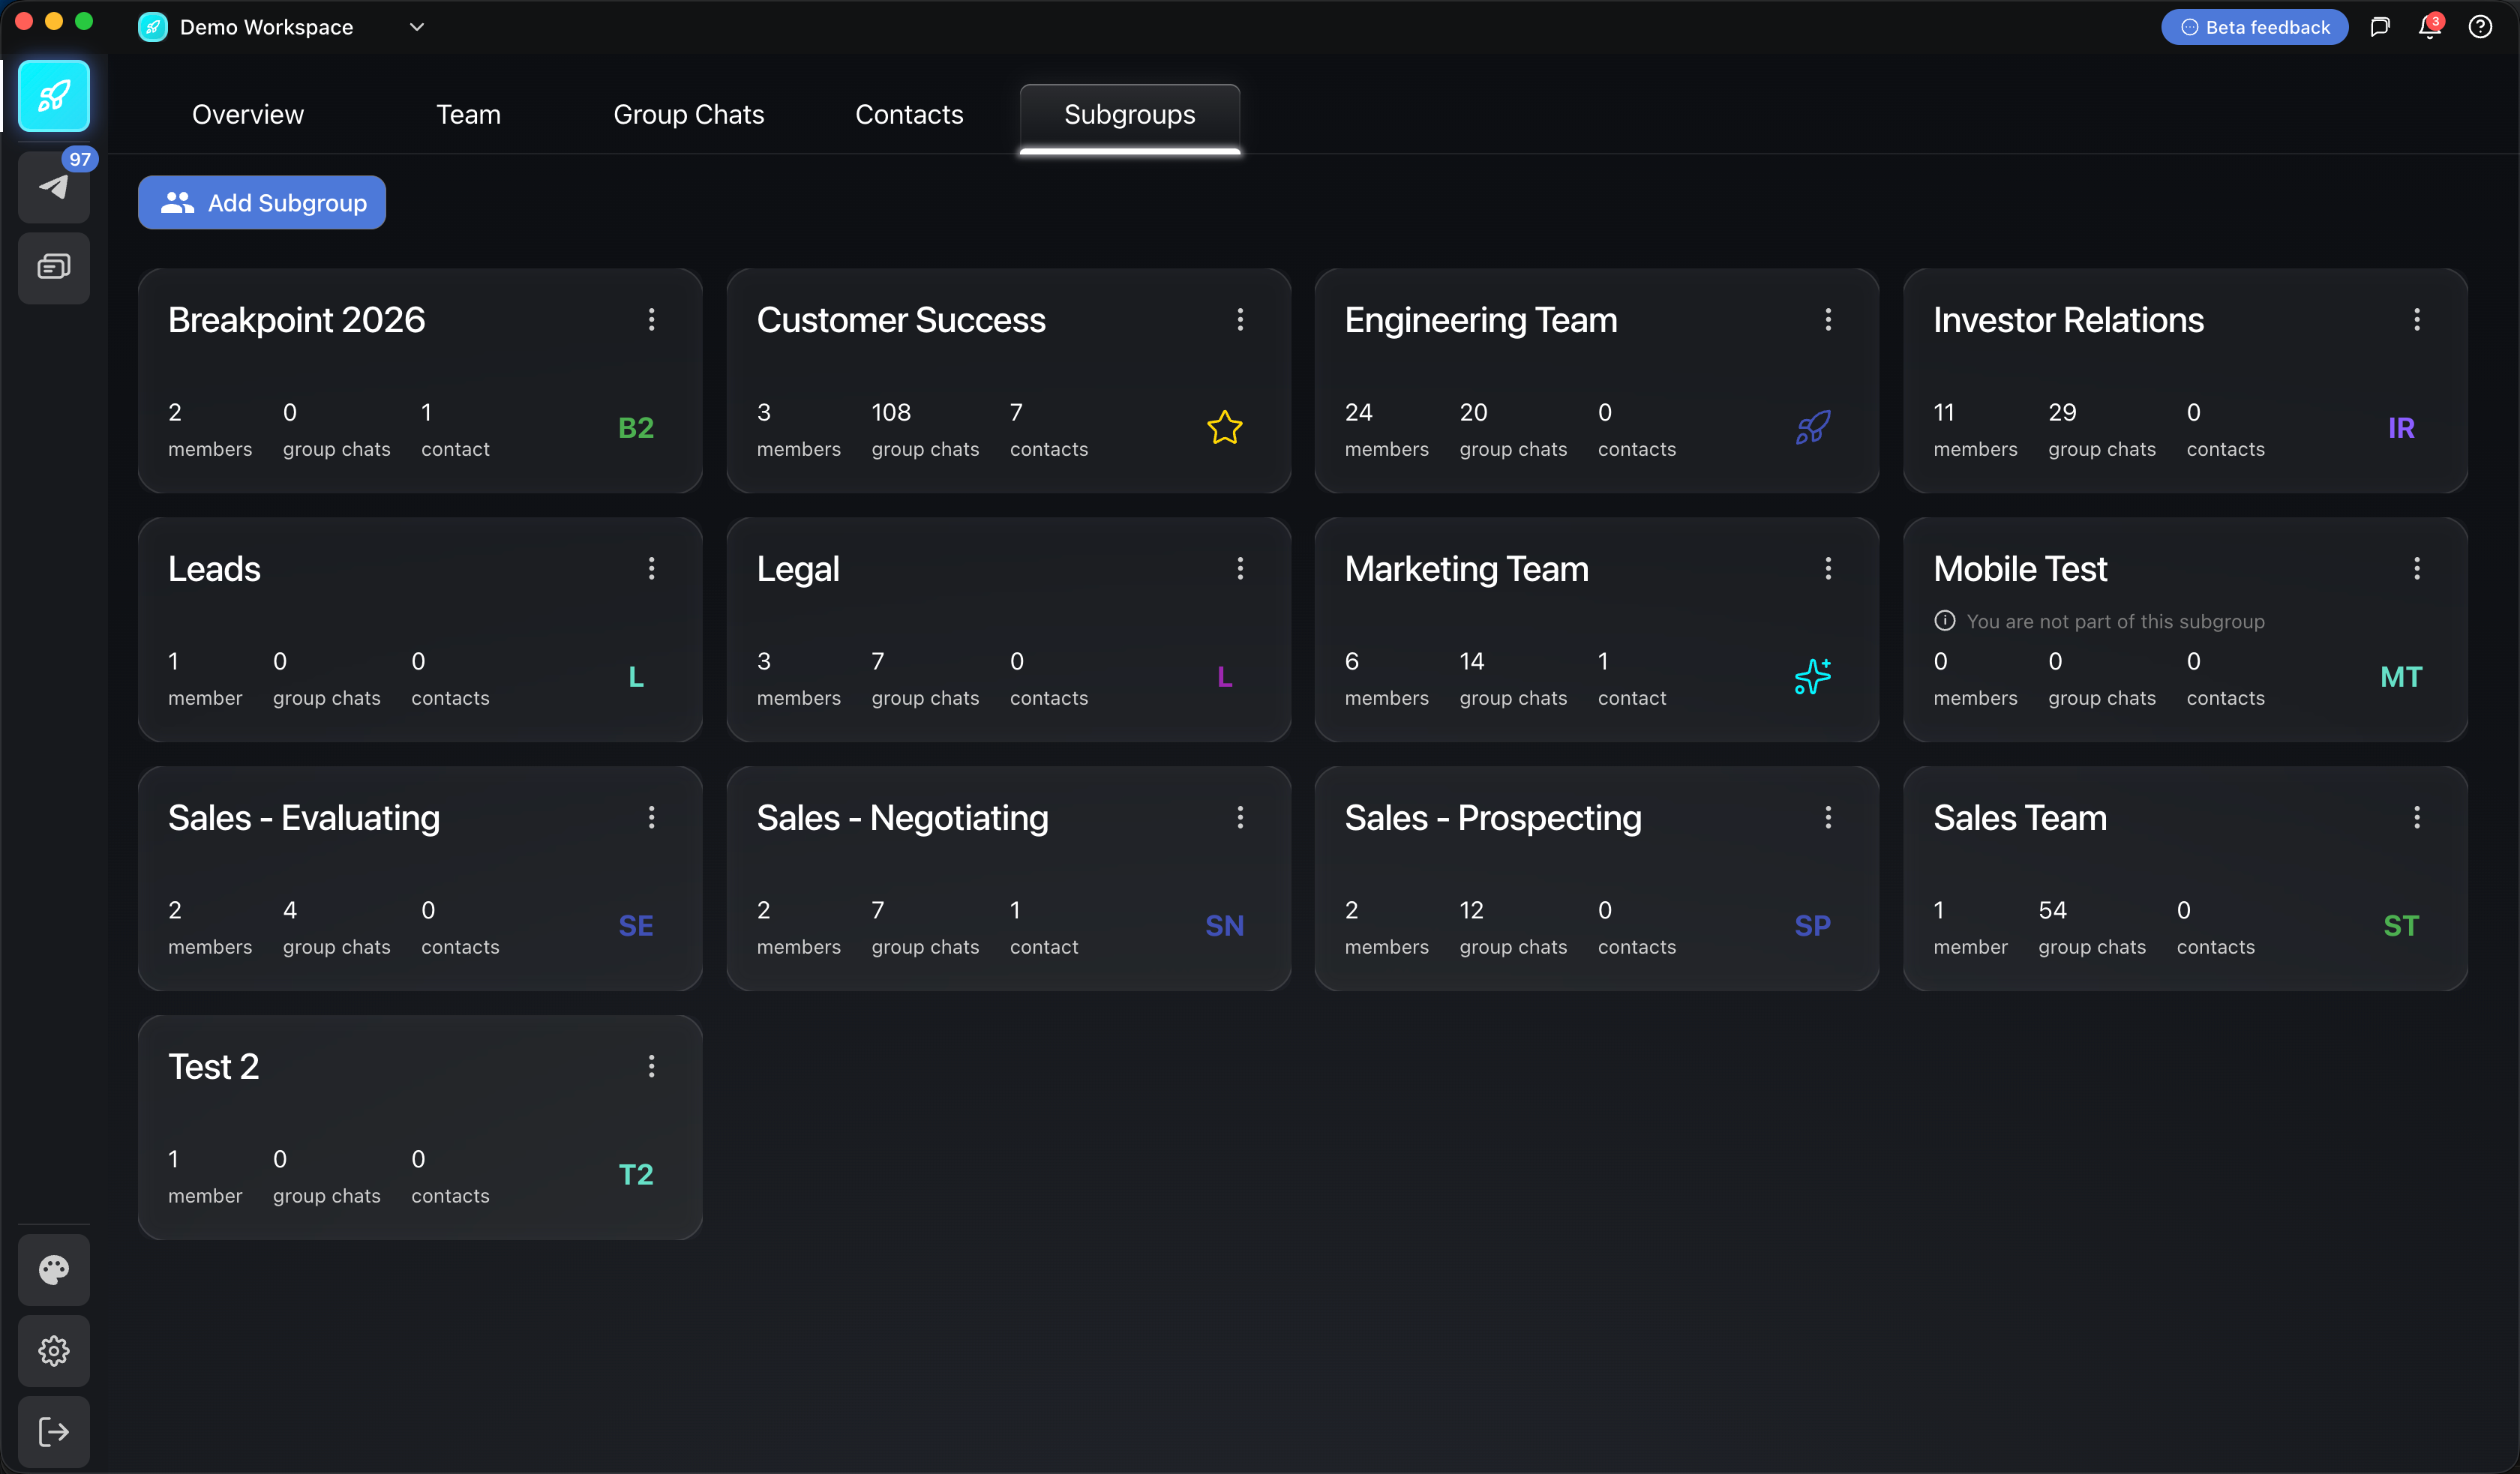
Subgroups let you organize cross-sections of team members, contacts, and chats within your workspace. Group your chats by department, pipeline stage, or any other logic that matches how your team actually operates.
Subgroups are optional, but recommended for any team with more than one functional group.
You are set up#
From here, you have everything you need to structure your team and operations.
A few things to do next:
- Read the Best Practices guide for how real teams optimize their workspace structure
- Explore Core Features to see everything Amua can do